

Knowledge Base - Initial Setup of CounterPath Bria Solo
If Bria CounterPath Solo ("Bria Solo") seems a little complex, it is... because the system of management is very powerful and simplifies multi-device use.
But we can make it easy to get it up and running!
For an explanation, and comparison please refer to the related article linked at the bottom.
Bria Solo relies on a user portal to configure an account and settings. Those settings are distributed to all active / logged in clients.
This ensures if a user logs in with his username and password; regardless of the platform (Windows, MacOs, Android, iOS) the same account settings are applied across all devices.
This means the same extensions, and services will be available to this person regardless of the hardware they choose to use for access; the data entry is performed on a web browser under a login relating to the user account and applies to all setups for that user.
This represents a significant improvement in ease of configuration over more independant tools where the same settings would have to be entered for each and every device, potentially allowing for multiple errors, and requiring multiple corrections.
To get started, click https://www.counterpath.com/try-now/ and click "Choose My Plan":

Then at the next screen, select/click Bria Solo, then click Continue with Bria Solo:

Enter your email address which you will use as a username for future sign on, and password resets, etc., and then click the orange arrow to proceed:
On the next screen you need to enter a secure password. Consider using your password manager (which may integrate with your mobile phone) to ensure a secure, long, random password, then click the orange arrow to proceed: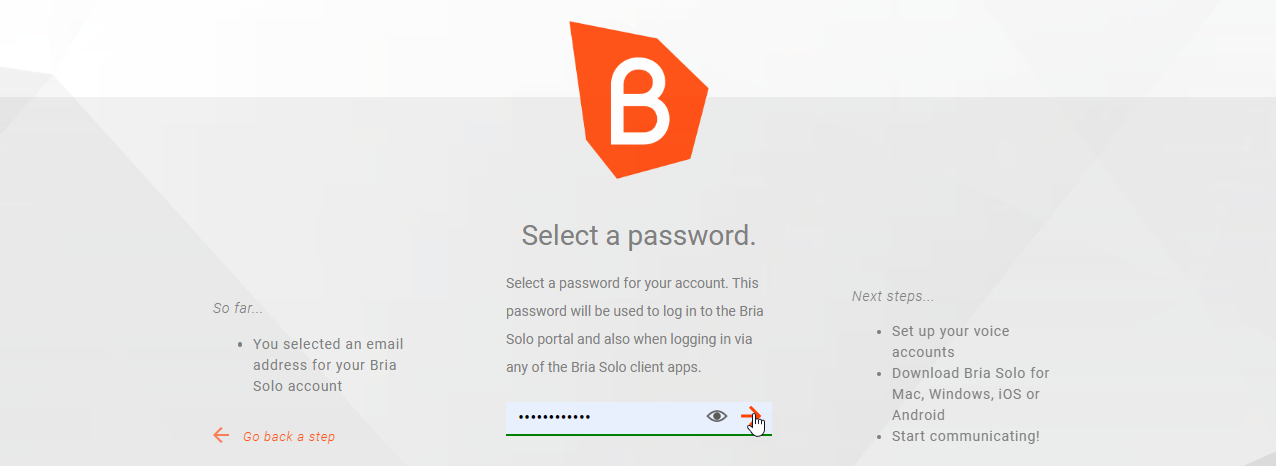
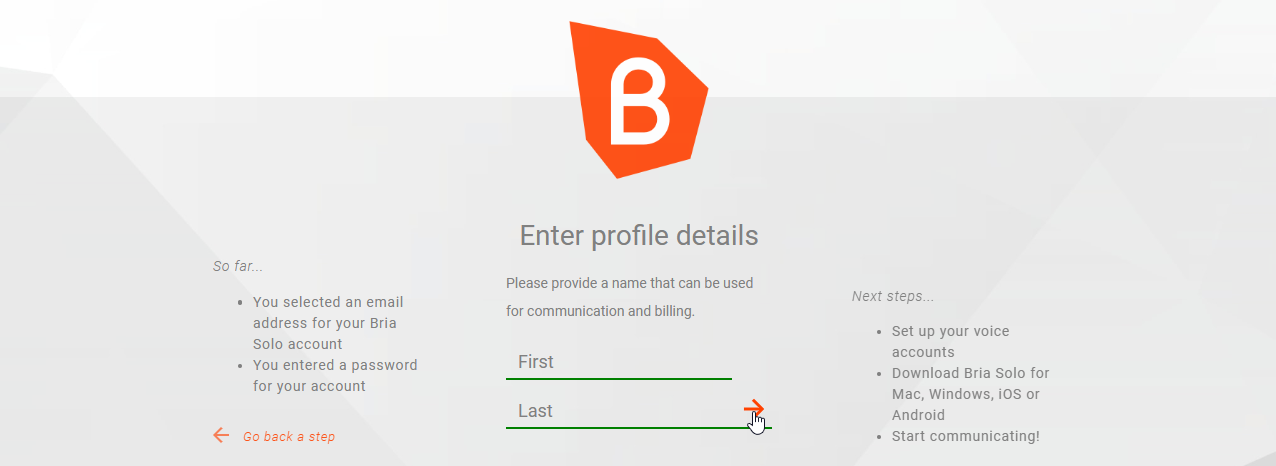
Next, enter your first and last names for your account, then click the orange arrow to proceed:
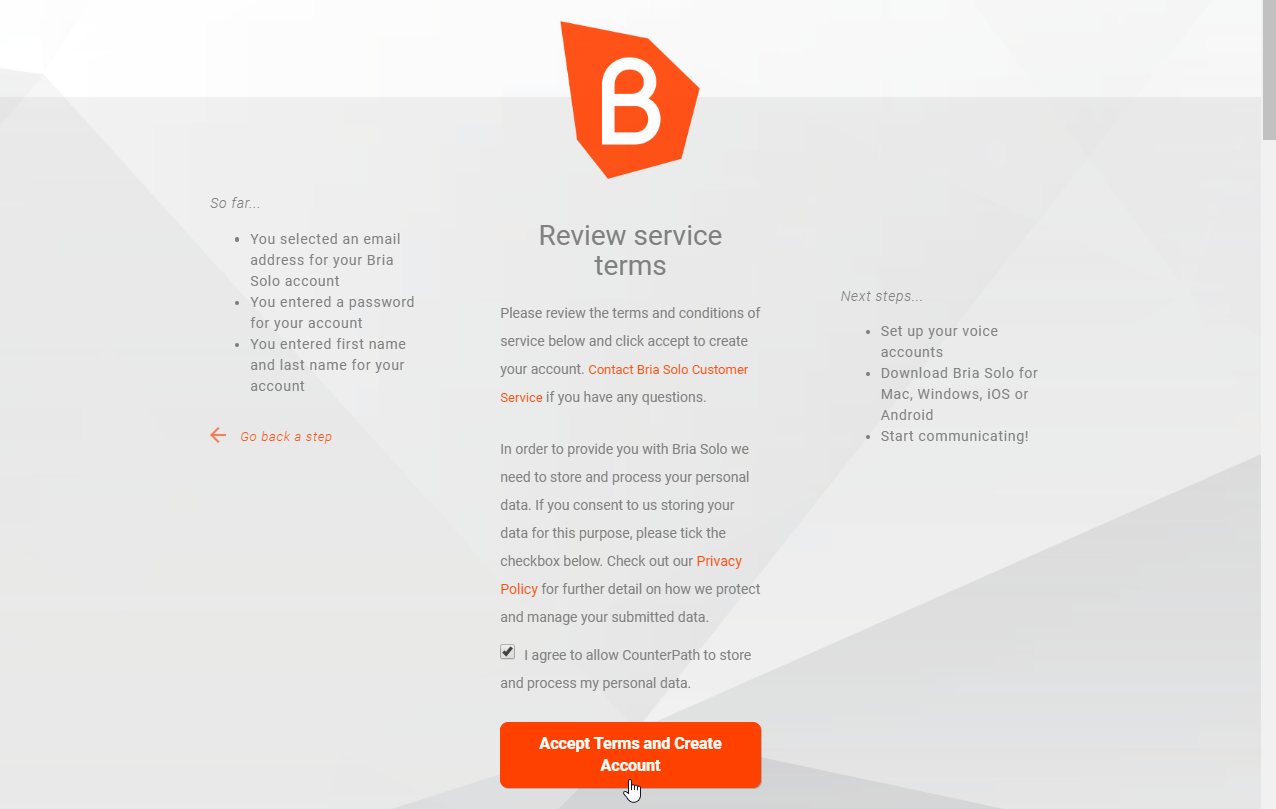
Then confirm your agreement with the terms of service for your use of the soft phone:
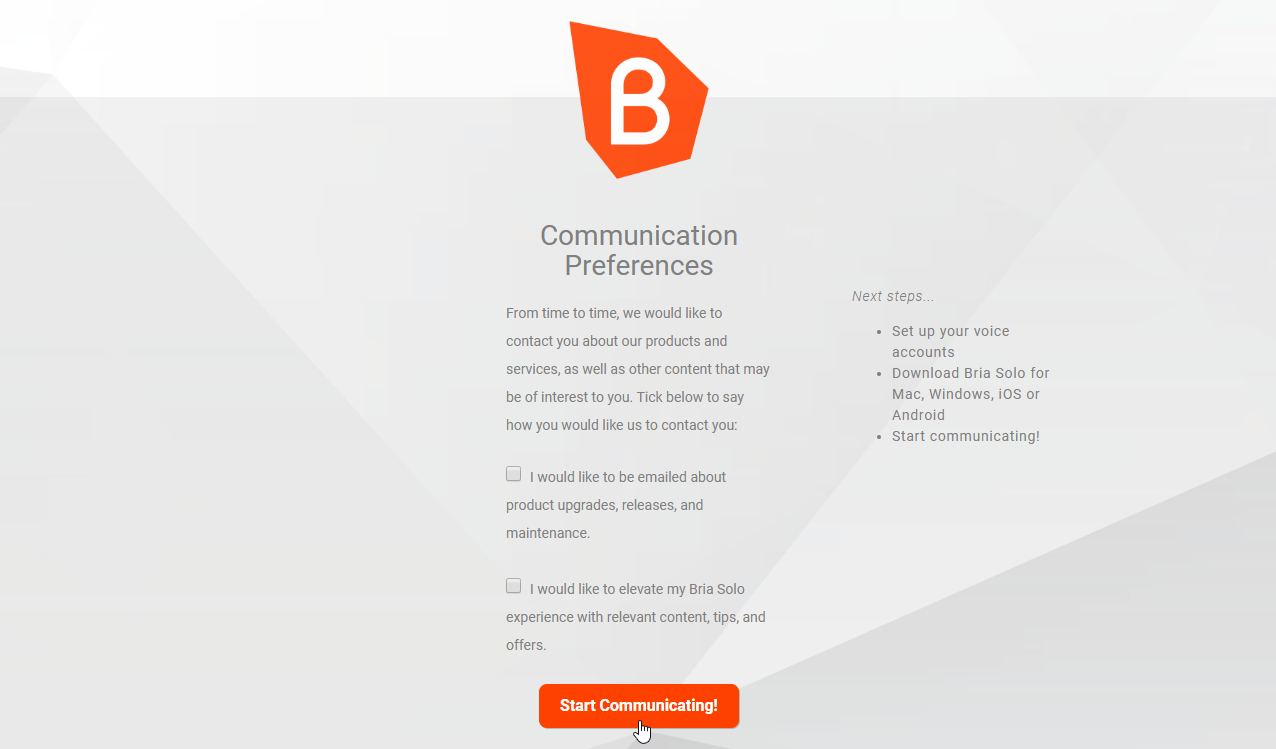
Then select your preferences for Spam ;-) :
:
And finally, continue to set up your first Voice Account. This is where you will configure Bria Solo to access the account settings we have provided for you:
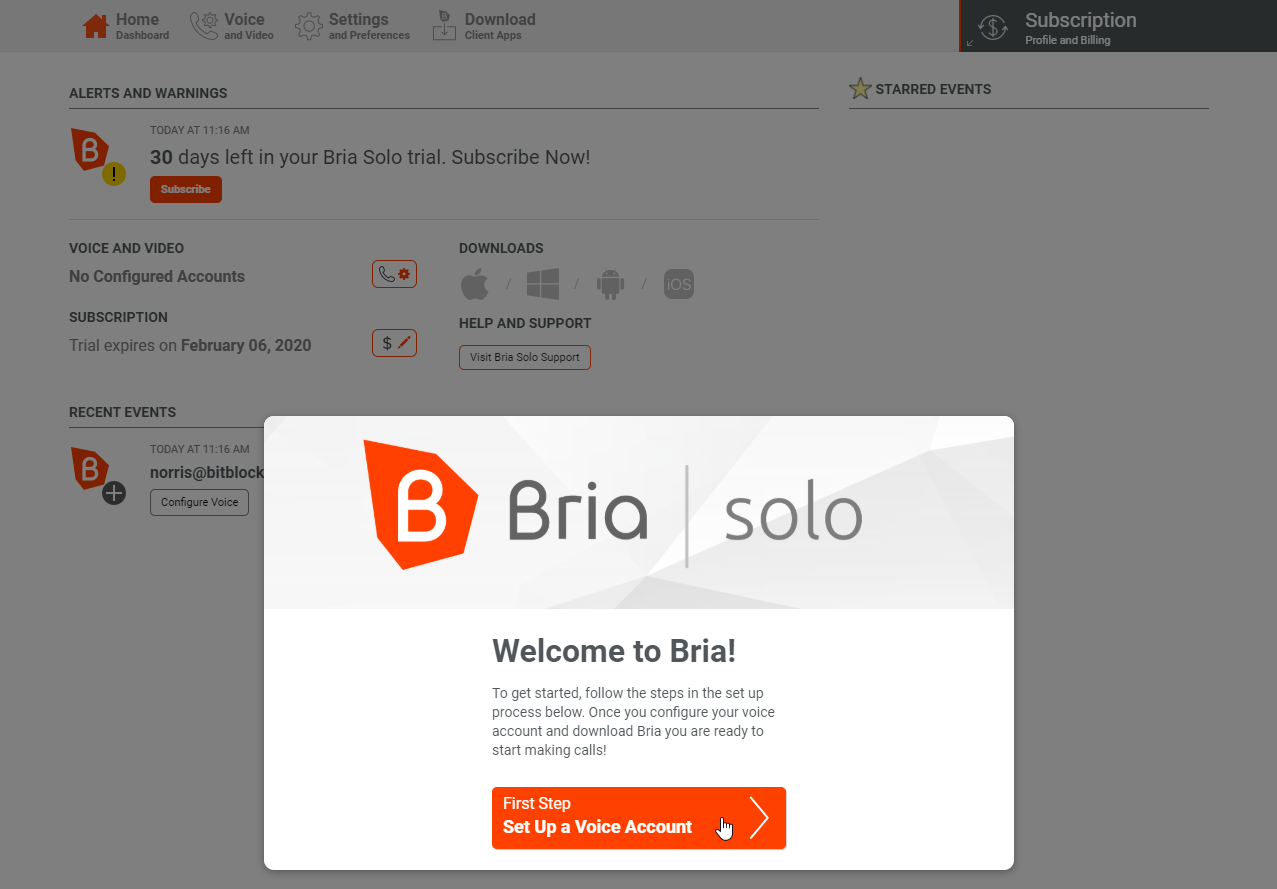
Click to Configure SIP Settings:

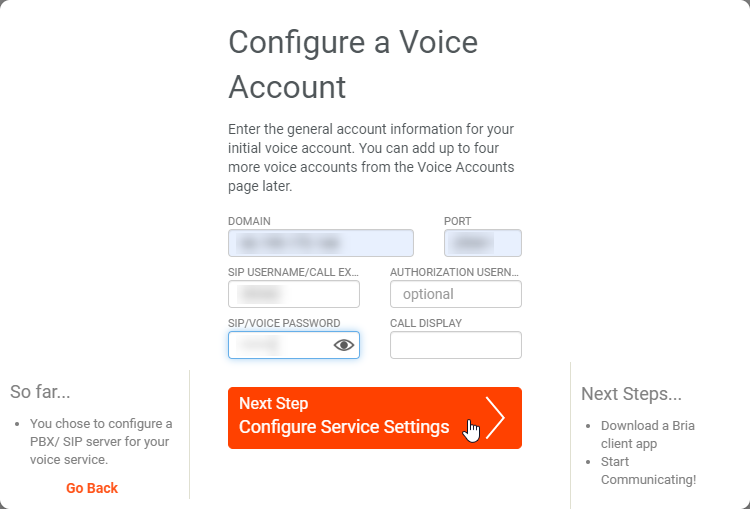
Enter the information provided for your account including DOMAIN, PORT, USERNAME, and PASSWORD - then click Next Step:
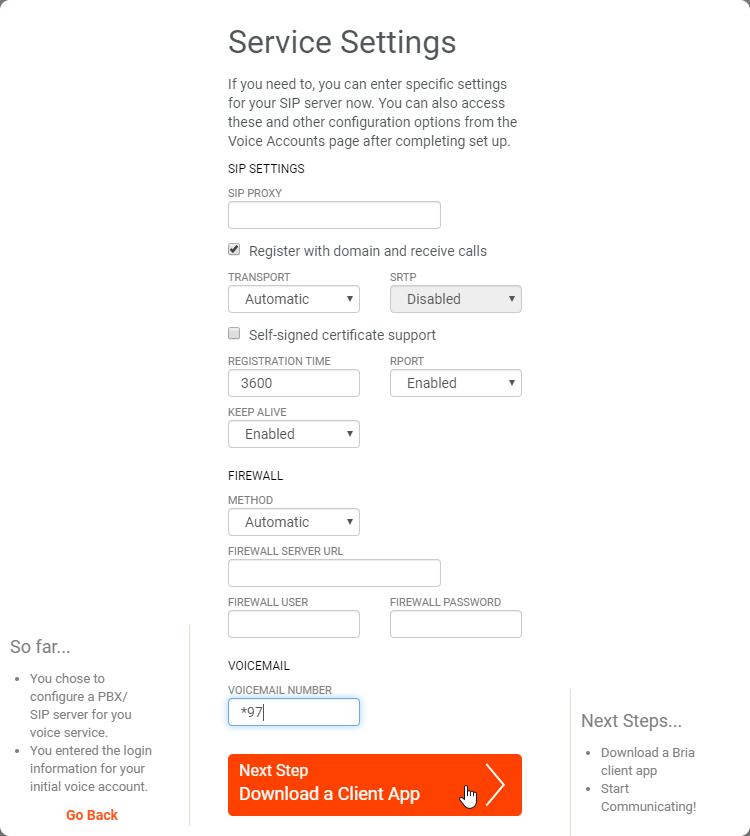
Confirm the Service Settings, Voicemail Number, and click Next Step:
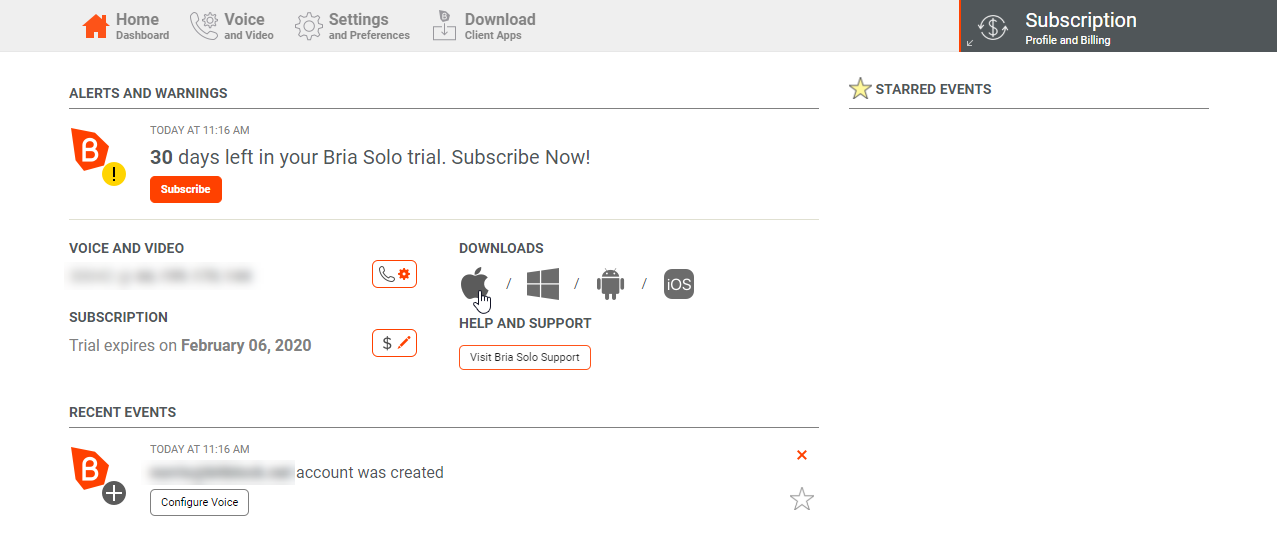
And finally click to proceed to the Dashboard:
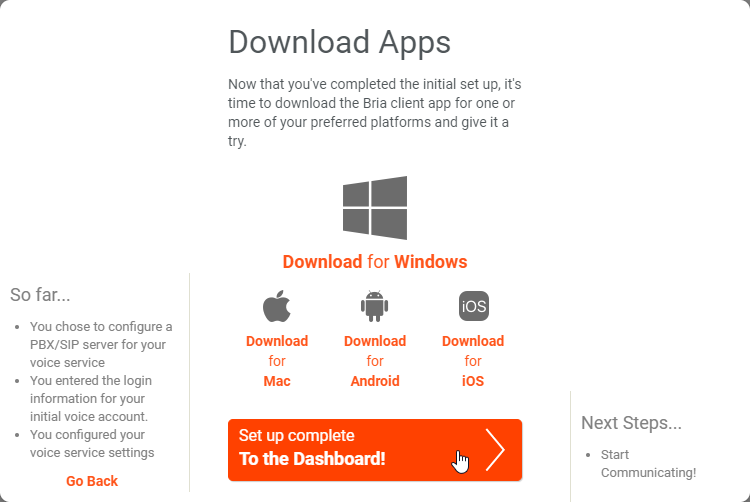
Now you can continue to downloads to install the software - just use the username / password created here for Bria Solo to enable the accounts you have configured:
Applies To
All Products